
Trezor Suite is the official desktop and web application for managing your Trezor hardware wallet. Developed by SatoshiLabs, it lets you securely send, receive, and store your cryptocurrencies, check balances, sign transactions, and use advanced features like coin control. Unlike web-only wallets, Trezor Suite gives you full control over your private keys, which never leave your device.
Before using Trezor Suite, you need a Trezor hardware wallet — either the Trezor Model One or Trezor Model T. Order only from trezor.io or trusted resellers to avoid tampered devices.
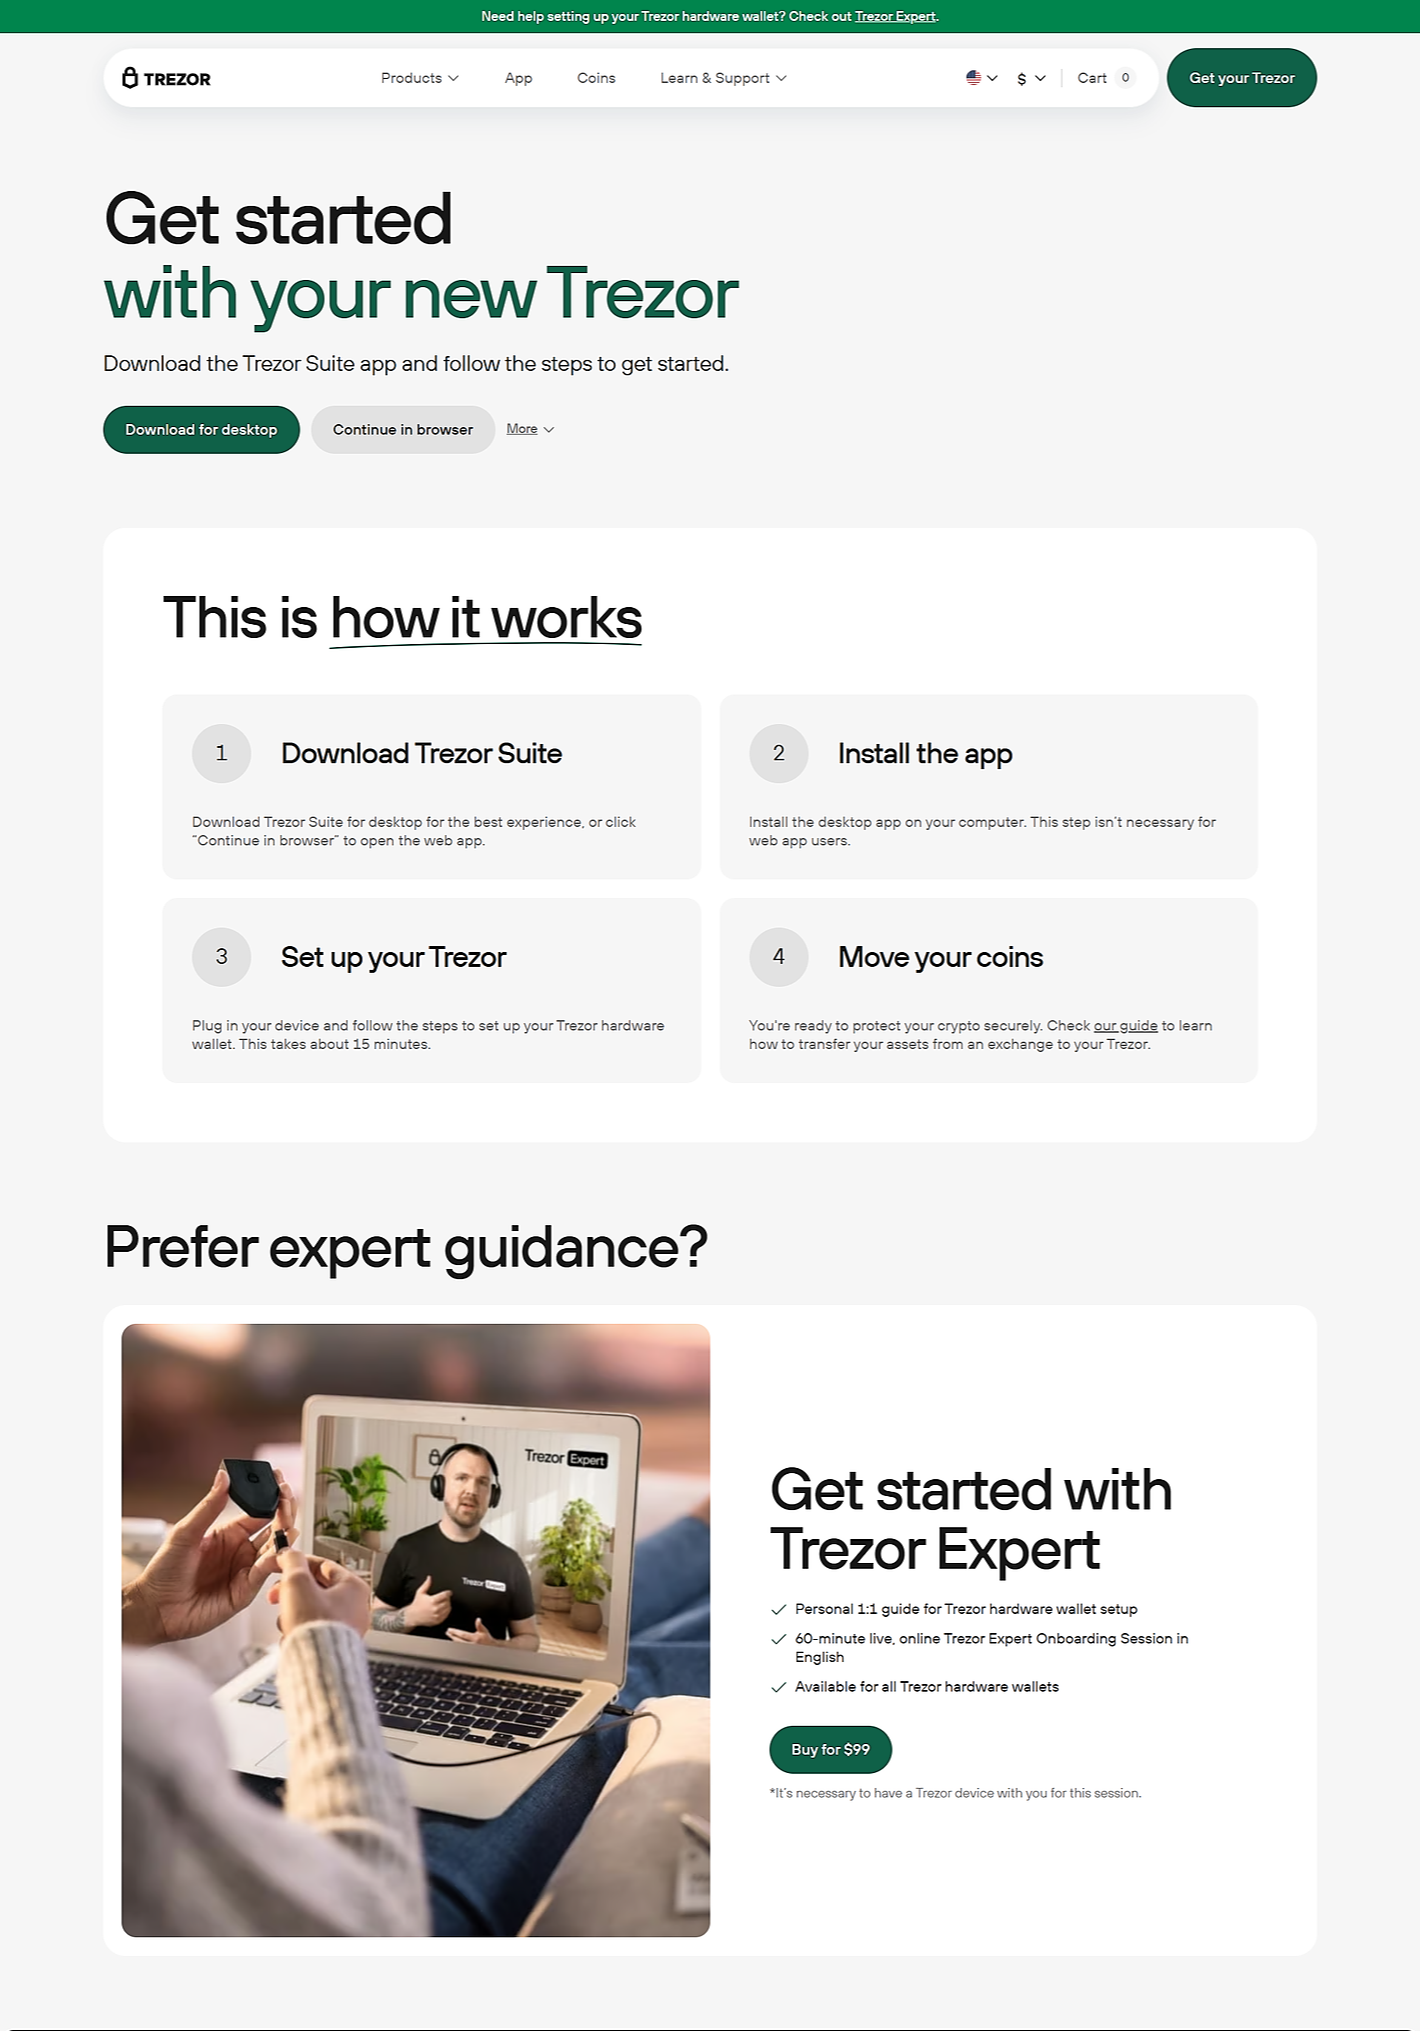
Go to suite.trezor.io on your computer. Download the version for your operating system — Windows, macOS, or Linux. Always verify you’re on the official site to avoid phishing scams.
Run the installer and follow the prompts. Once installed, launch Trezor Suite. You may see a prompt to install Trezor Bridge — a communication tool that connects your browser to your Trezor. If needed, install it and restart your browser.
Plug in your Trezor using the provided USB cable. Follow the on-screen instructions in Trezor Suite. If it’s a brand-new device, you’ll be guided to set it up:
Install the latest firmware.
Create a new wallet.
Write down your recovery seed — 12, 18, or 24 words. Store this offline; it’s the backup for your crypto. Never share it with anyone.
Once your wallet is initialized, add cryptocurrency accounts. Trezor Suite supports Bitcoin, Ethereum, and hundreds of other coins. Click ‘+ Add Account’, choose the coin, and Suite will generate the account. Your private keys stay inside the Trezor — only public keys and addresses are displayed.
To receive crypto, click your chosen account, then ‘Receive’. Trezor Suite will show your receiving address. Confirm it on your Trezor device screen to make sure it matches — this prevents man-in-the-middle attacks. Share this address to get funds.
To send crypto, click ‘Send’ in the account. Paste the recipient’s address, enter the amount, and choose the transaction fee. Confirm the details on your Trezor device. This ensures your keys sign the transaction securely on the device.
Explore advanced tools:
Coin control for selecting specific coins (UTXOs) to spend.
Labeling using Dropbox encryption for organizing transactions.
Tor integration for added privacy.
Trade crypto directly inside Suite via integrated exchanges.
SatoshiLabs regularly releases updates. Always update your Suite and firmware for the best security and features. Enable update notifications in the settings.
Never share your recovery seed or PIN. Store your recovery seed offline in a fireproof, waterproof place. Use passphrases for extra security if you want an advanced layer of protection.
Trezor Suite makes using your hardware wallet intuitive and secure. By combining the offline protection of your Trezor with an easy-to-use app, you stay in full control of your crypto. Always follow best security practices, and you’ll have a powerful, private, self-custodial crypto setup.